Introduction to Zebra Cookies
What are zebra cookies and why are they a hit?
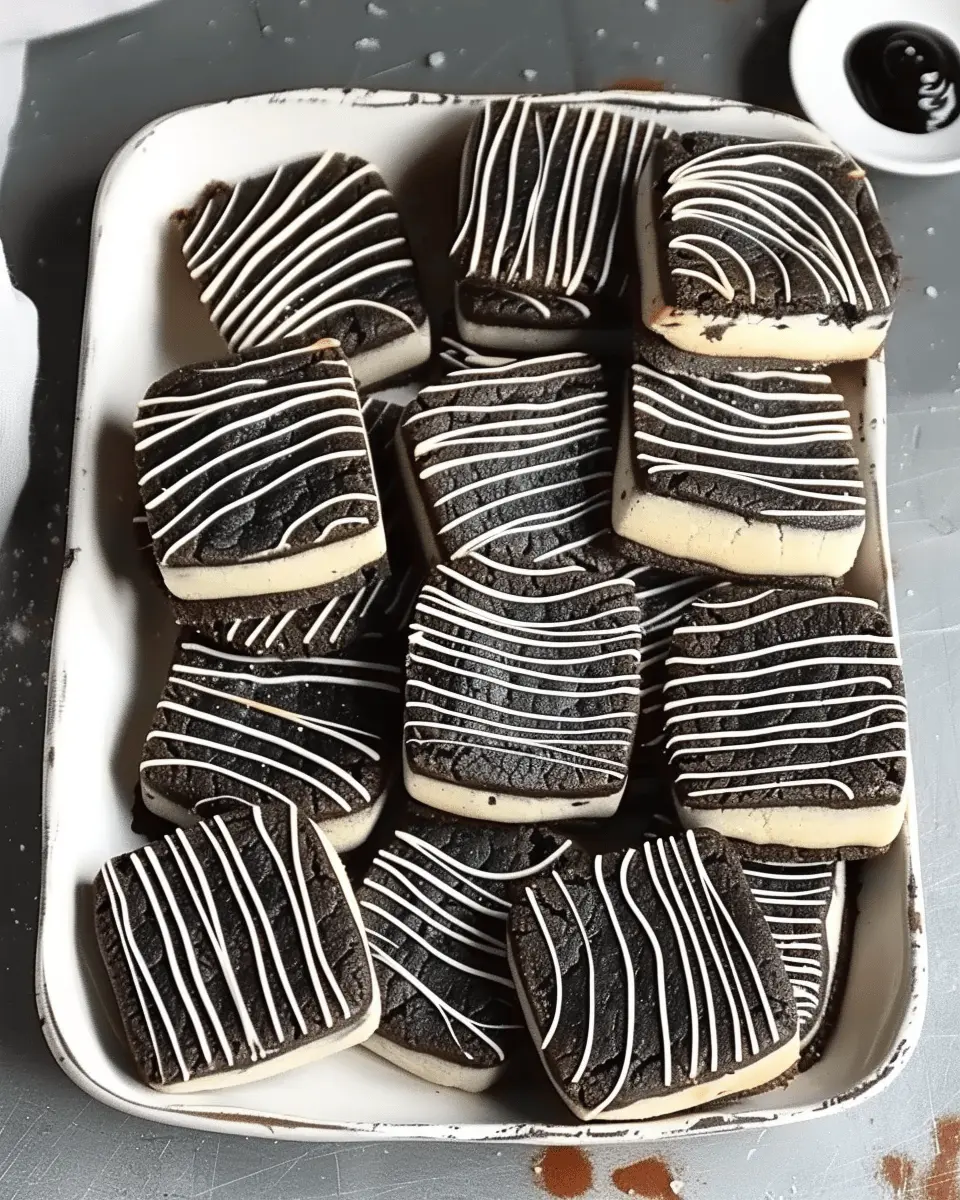
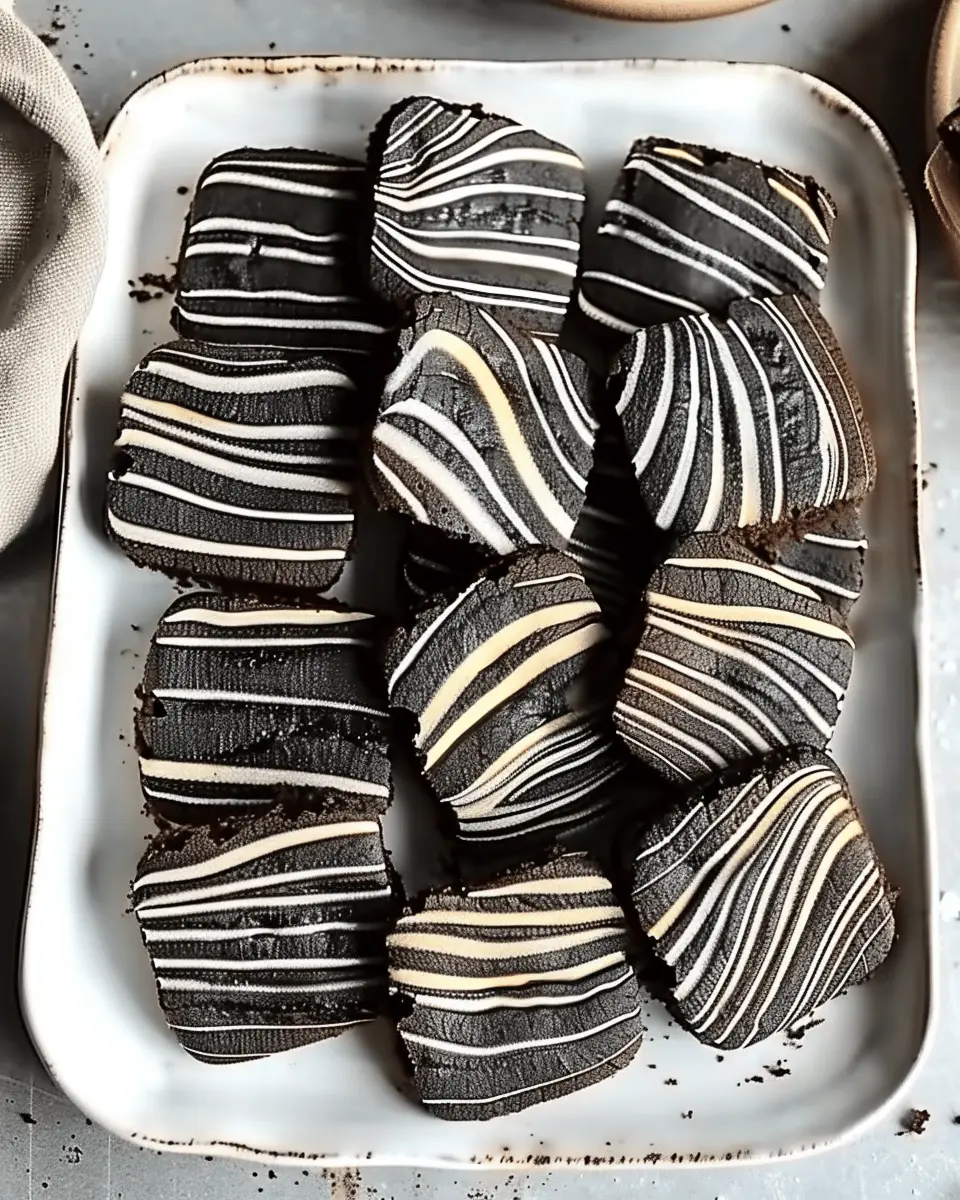
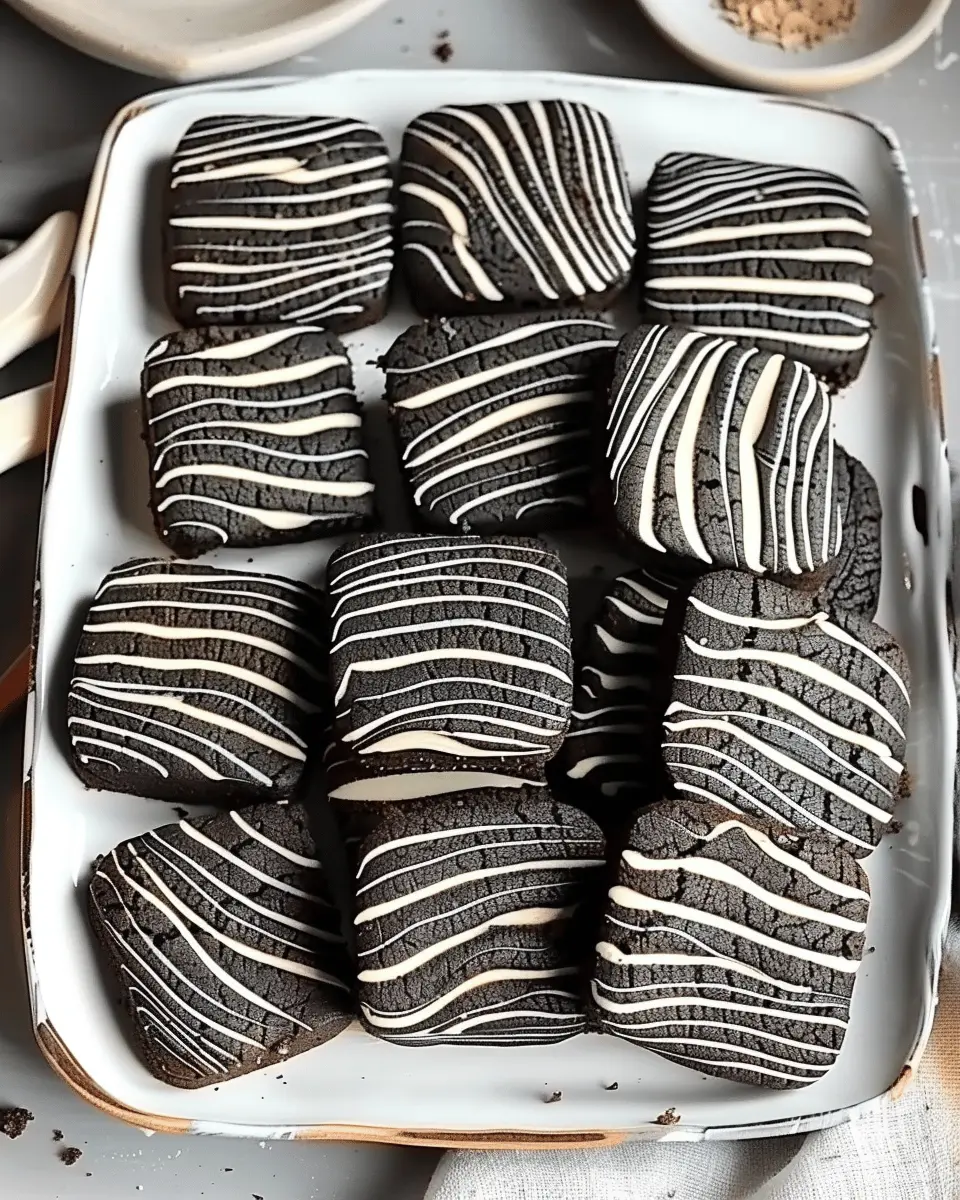
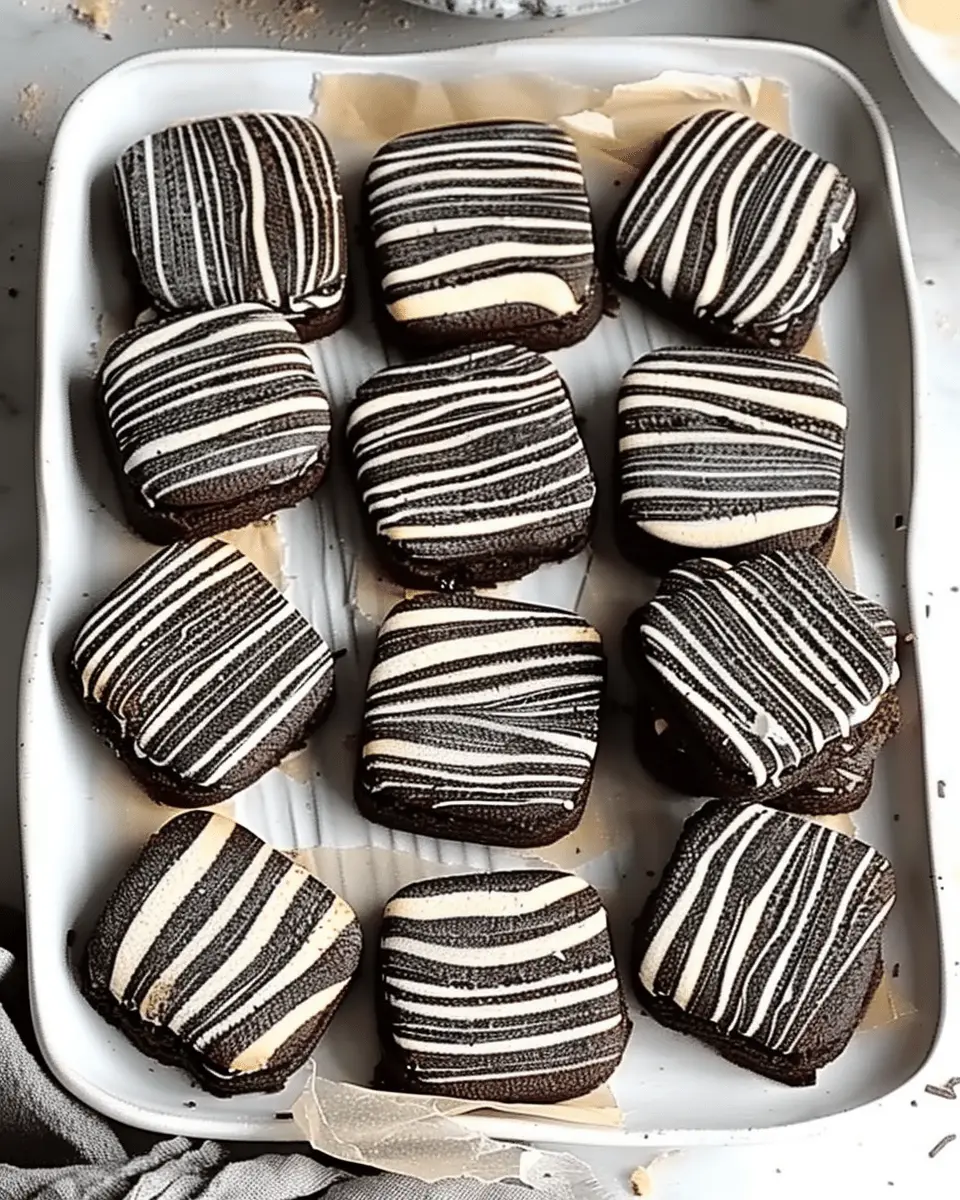
Zebra cookies are the delightful fusion of chocolate and vanilla flavors, perfectly swirled together to create a stunning visual and taste experience. Their name comes from the contrasting colors, resembling the stripes of a zebra, making them a feast for both the eyes and the palate. These cookies are not just a treat; they’re a showstopper for any gathering, be it a casual coffee meet-up or a festive holiday celebration.
So, what makes zebra cookies such a popular choice? For starters, their unique appearance instantly draws attention. Picture a cookie with a rich, dark chocolate shell melded seamlessly with a light, buttery vanilla one. This eye-catching design is perfect for impressing guests or simply satisfying a sweet tooth. According to food experts at the American Institute of Baking, the combination of visual appeal and flavor depth keeps cookie enthusiasts coming back for more.
But it’s not just their looks that have made zebra cookies a culinary sensation—they’re also super easy to make! With basic ingredients like flour, sugar, butter, and cocoa powder, bakers of all levels can whip up a batch. You don’t need to be a professional pastry chef to create these cookies, which is a huge plus! Plus, for those working from home or juggling busy schedules, they offer the chance to take a delightful break in the kitchen.
For some extra inspiration, check out Food Network’s guide to classic cookie recipes or dive into Serious Eats for baking tips.
As you explore making zebra cookies, consider experimenting with various toppings, like sprinkles or a drizzle of melted chocolate. Customizing these treats to suit your taste not only makes them more enjoyable but also turns baking into a creative outlet. So, whether you’re planning a cozy night in or a chic dessert spread, zebra cookies are sure to be the stars of the show, making every bite an experience in itself!
Ingredients for Zebra Cookies
Essential ingredients for a classic zebra cookie
Creating delicious zebra cookies is a delightful experience that begins with the right essentials. Here’s what you’ll need:
- All-purpose flour: The base of your cookies provides structure.
- Butter: Opt for unsalted butter for a rich flavor.
- Granulated sugar: Sweetens your cookies and helps with their texture.
- Brown sugar: Adds a deeper flavor and chewy texture.
- Eggs: A couple of eggs act as a binding agent.
- Cocoa powder: For that iconic chocolate stripe, make sure to use unsweetened.
- Baking powder: This helps your cookies rise perfectly.
- Vanilla extract: Enhances the overall flavor.
Optional ingredients for personalization
Feel free to add a personal touch to your zebra cookies! Consider including:
- Sea salt: A pinch can elevate the sweetness.
- Chocolate chips: For extra indulgence and texture, try milk or dark chocolate.
- Chopped nuts: Walnuts or pecans can add a nice crunch.
- Extracts: Experiment with almond or mint for a unique twist.
These goodies can transform a classic batch into something uniquely yours. For further inspiration, check out this article on cookie variations and give your creativity a boost!
Step-by-step Preparation of Zebra Cookies
Zebra cookies are not just a treat; they’re an experience! Imagine biting into a cookie with a striking visual contrast between rich chocolate and vanilla flavors, making every bite a delightful surprise. If you’re ready to dive into baking these stunning snacks, let’s walk through the preparation step by step.
Gather Your Ingredients and Tools
Before we start, it’s essential to ensure you have all your ingredients and tools at the ready. This will make your baking experience seamless and enjoyable. Here’s what you’ll need:
Ingredients:
- 2 cups all-purpose flour
- 1 cup unsalted butter, softened
- 1 cup granulated sugar
- 1 large egg
- 2 teaspoons vanilla extract
- 1/3 cup unsweetened cocoa powder
- 1 teaspoon baking powder
- A pinch of salt
Tools:
- Mixing bowls
- Electric mixer or whisk
- Measuring cups and spoons
- Plastic wrap
- Baking sheets
- Parchment paper
- Rolling pin
- Cookie cutter (optional, but fun!)
Having these ingredients and tools handy will set you up for success. Now, let’s get mixing!
Create the Dough Base
Start by creaming together the softened butter and sugar in a mixing bowl. Use an electric mixer for a fluffy texture, but don’t worry if you only have a whisk—it’ll give you a good workout. Once the mixture is light and airy, add in the egg and vanilla extract.
Next, sift in the flour, baking powder, and salt. Mix until the dough comes together—it shouldn’t be too sticky. If you find it a bit tacky, don’t be shy to add a little more flour until it’s manageable.
Whip Up the Chocolate Dough
Now for the fun part! Take half of your dough and set it aside in a separate bowl. To this portion, add the cocoa powder. Make sure to fold it in gently until the dough is evenly colored and well combined. This chocolate dough will really elevate your zebra cookies and add that delicious contrast!
Pro tip: If you’d like to learn more about the science behind baking or specific techniques, I recommend checking out resources like King Arthur Baking.
Combine the Doughs for Zebra Effect
Once you have both vanilla and chocolate dough, it’s time to combine them for that beautiful zebra effect. On a lightly floured surface, roll out each dough into equal-sized rectangles. Aim for around ¼ inch thickness.
Now, carefully lay the chocolate rectangle on top of the vanilla rectangle. Gently press them together, then slowly roll the dough from one end to the other to create a log shape. Wrap this log tightly in plastic wrap and refrigerate for about 30 minutes. This step not only helps firm up the dough but also makes slicing easier.
Shape and Form the Cookies
After chilling, remove the dough from the fridge and slice the log into ½-inch thick discs. Feel free to use a cookie cutter for fun shapes! Each slice should reveal that beautiful zebra pattern. Place the cookies on a baking sheet lined with parchment paper, leaving some space between them to allow for spreading.
Bake Your Zebra Cookies
Preheat your oven to 350°F (175°C). Once it’s ready, pop those cookies in for about 10-12 minutes or until the edges are golden brown. Your kitchen will soon be filled with a mouthwatering aroma that’s almost impossible to resist!
After baking, let them cool on the baking sheet for a few minutes before transferring them to a wire rack. These zebra cookies not only look fabulous but taste incredible too. Enjoy them with a cup of tea or share them at your next gathering!
With this step-by-step guide, you’ll be whipping up these delightful treats in no time. Happy baking! If you find yourself in need of more inspiration, consider visiting Food Network for a treasure trove of baking ideas.
Variations on Zebra Cookies
When it comes to zebra cookies, the classic chocolate and vanilla swirl is just the beginning! With a few tweaks, you can create delightful variations that appeal to different tastes and occasions. Let’s explore two enticing options: incorporating nuts and sprinkles.
Zebra Cookies with Nuts
For those who love a bit of crunch, consider adding nuts to your zebra cookies. Chopped walnuts or pecans can be folded into the cookie dough before baking, providing a nutty flavor and satisfying texture. Not only do they enhance the taste, but nuts also offer health benefits. According to the American Heart Association, nuts are a great source of healthy fats, protein, and fiber. To make sure every bite is delectable, sprinkle a few additional chopped nuts on top before baking. It adds a delightful visual touch and an extra crunch!
Zebra Cookies with Sprinkles
If you’re looking to brighten up your zebra cookies, colorful sprinkles are the way to go! Adding sprinkles to the top of your cookies before they go into the oven creates a fun and festive treat, perfect for parties or celebrations. Simply roll the edges of the cookie dough in sprinkles and then bake. Children and adults alike will be drawn to these cheery creations. Plus, if you want to elevate your cookie game even further, use themed sprinkles for holidays or special events.
These simple additions make zebra cookies even more inviting and enjoyable. Whichever variation you choose, your cookie jar will surely be a hit! For more creative ideas, check out Serious Eats or Food Network for inspiration.
Cooking Tips and Notes for Zebra Cookies
Common Mistakes to Avoid
When making zebra cookies, ensure you avoid these pitfalls for the best results:
- Overmixing the Dough: It may be tempting to give that dough a vigorous stir, but overmixing can lead to tough cookies. Mix until just combined for that delightful softness.
- Incorrect Chilling: If your dough isn’t chilled long enough, it might spread too much while baking. Aim for at least an hour in the fridge!
- Inconsistent Swirls: For a beautiful zebra effect, try using two spoons to drop dough blobs side by side rather than mixing them completely.
Storage Tips for Freshness
To maintain your zebra cookies’ freshness, consider these simple storage tips:
- Airtight Containers: Place cookies in an airtight container at room temperature to keep them soft. They can last up to a week!
- Freezing for Later: Want to save some for later? Freeze the baked cookies in a single layer, then transfer them to a freezer-safe bag. They can last up to three months!
For more baking insights, check out resources like the American Institute of Baking or King Arthur Baking for expert advice. Happy baking!
Serving Suggestions for Zebra Cookies
Pairing with Beverages
When you whip up a batch of zebra cookies, you might wonder what to serve alongside these delightful treats. A comforting cup of hot cocoa makes an excellent choice, as its rich chocolate flavor beautifully complements the cookie’s unique blend. For a lighter option, try pairing your cookies with a refreshing herbal iced tea. The coolness of the tea balances the sweetness of the cookie, creating a harmonious experience.
If you’re looking to elevate the moment further, a creamy vanilla or caramel latte can be simply divine. Considering sharing your cookie adventure? A dessert platter featuring these cookies alongside other treats, like brownies or fruit, will impress your guests and make for an exciting dessert spread.
Presentation Ideas for Gatherings
Presentation is key when serving zebra cookies at gatherings. Consider arranging them on a stylish cake stand or a colorful platter for eye-catching decor. A sprinkle of powdered sugar on top adds a touch of elegance. Incorporating fresh fruits, like strawberries or raspberries, can bring a pop of color and enhance the overall appeal.
For a themed party, align your serving style with the occasion. If it’s a casual summer gathering, opt for fun, brightly colored plates. If you’re hosting a cozy winter evening, choose deep, rich colors and cozy textures to create an inviting atmosphere.
For more inspiration on dessert pairings and presentation ideas, check out resources like Food Network or Bon Appétit. Enjoy your baking and hosting adventures with zebra cookies!
Time Breakdown for Zebra Cookies
When you’re itching to bake some delightful zebra cookies, time management is essential. Here’s how you can break it down:
Preparation Time
First things first, set aside about 30 minutes to gather your ingredients and get everything mixed just right. You’ll want to make sure the dough is well-combined, and that can take a touch of patience and love.
Baking Time
Once you have your cookie dough ready, preheat your oven and bake those beauties for about 12-15 minutes. A quick tip: keep an eye on them to ensure you achieve that perfect golden-brown hue.
Total Time
In total, you’re looking at around 45 minutes to 1 hour from start to finish. This makes zebra cookies an ideal treat for spontaneous gatherings or an after-dinner dessert.
For more tips on timing your baking sessions, check out Baker’s Delight. Happy baking!
Nutritional Facts for Zebra Cookies
Calories per cookie
When indulging in zebra cookies, it’s essential to know what you’re biting into. On average, each cookie contains about 100 calories. This makes them a delightful treat without too much guilt—perfect for a snack or a dessert.
Sugar content
These delicious cookies also contain approximately 8 grams of sugar. While they satisfy your sweet tooth, being mindful of sugar intake is always a good idea. If you’re curious about sugar substitutes, check out resources like the American Heart Association for healthier options.
Quick breakdown of other nutrients
Here’s a snapshot of what else you can expect from zebra cookies:
- Fat: Around 4 grams, primarily from butter and chocolate.
- Carbohydrates: About 14 grams, offering a quick energy boost.
- Protein: A modest 1-2 grams, mainly from added ingredients.
For those eager to explore a healthier cookie-making journey, consider checking out expert opinions on food substitutions at the Nutrition Journal. Embracing balance in treats like zebra cookies can make them even more enjoyable!
FAQ about Zebra Cookies
How to keep zebra cookies moist?
Keeping your zebra cookies moist is a baker’s secret! Here are a few tips for achieving that perfect balance between a soft center and crunchy edges:
- Store in an airtight container: Air exposure can dry out your cookies, so make sure to seal them properly.
- Use parchment paper: Layering cookies with parchment paper can help prevent them from sticking together while retaining moisture.
- Add a slice of bread: In your cookie storage, add a slice of bread. This old trick can keep your cookies soft by absorbing excess air moisture.
Can I freeze zebra cookies?
Yes! Freezing your zebra cookies is a great way to prolong their shelf life. Here’s how to do it:
- Cool completely: Make sure your cookies are fully cooled before freezing; this helps preserve their texture.
- Wrap tightly: Use plastic wrap or a freezer-safe bag, ensuring no air gets in.
- Label and date: It’s easy to lose track of what’s what in the freezer, so keep notes!
When you’re ready to enjoy them, just remove and let them thaw at room temperature.
What can I use as a substitute for butter?
If you’re out of butter or prefer alternatives, don’t worry! Here are some great substitutes for your zebra cookies:
- Coconut oil: This will add a subtle coconut flavor and keep your cookies rich.
- Applesauce: This is a healthier option that adds moisture while reducing fat content. Use it in moderation to maintain texture.
- Vegetable oil or margarine: Both can work well, although the texture may differ slightly.
Using alternatives can be a fun way to experiment with flavors, so don’t hesitate to get creative! For more detailed information on baking substitutions, check out this comprehensive guide on baking ingredients.
These tips should help you enjoy your zebra cookies to the fullest! Happy baking!
Conclusion on Zebra Cookies
Why Zebra Cookies Can Liven Up Your Dessert Table
Incorporating zebra cookies into your dessert table is a delightful way to add a touch of whimsy and elegance. Their striking contrast of chocolate and vanilla not only piques the interest of guests but also provides a deliciously unique flavor experience. Each bite offers a satisfying blend of textures, from the crisp exterior to the soft, tender center, making them a crowd-pleaser at any gathering.
Imagine serving these alongside classic treats like brownies or even Turkey Bacon treats — it’s a combination that leaves guests excited to savor every moment. Plus, they’re surprisingly easy to make! For more inspiration on desserts that can complement your zebra cookies, check out this fantastic resource for foolproof recipes. So, why wait? Whip up a batch and watch them vanish before your eyes!
PrintZebra Cookies: Easy and Indulgent Treats for Any Occasion
Delightful zebra cookies that are both easy to make and perfect for any occasion.
- Prep Time: 20 minutes
- Cook Time: 10-12 minutes
- Total Time: 30 minutes
- Yield: 24 cookies 1x
- Category: Dessert
- Method: Baking
- Cuisine: American
- Diet: Vegetarian
Ingredients
- 1 cup unsalted butter
- 1 cup granulated sugar
- 2 large eggs
- 2 cups all-purpose flour
- 1/2 cup cocoa powder
- 1 teaspoon vanilla extract
- 1/2 teaspoon baking powder
- 1/4 teaspoon salt
Instructions
- Preheat the oven to 350°F (175°C).
- In a large bowl, cream together the butter and sugar until smooth.
- Beat in the eggs one at a time, then stir in the vanilla.
- In another bowl, whisk together the flour, cocoa powder, baking powder, and salt.
- Gradually add the dry ingredients to the wet ingredients, mixing until just combined.
- Drop spoonfuls of dough onto a baking sheet, alternating between chocolate and vanilla dough to create a zebra pattern.
- Bake for 10-12 minutes until edges are set. Allow to cool on a wire rack.
Notes
- For a fun twist, add some chocolate chips to the batter.
- Watch the cookies closely as they bake.
Nutrition
- Serving Size: 1 cookie
- Calories: 150
- Sugar: 12g
- Sodium: 50mg
- Fat: 7g
- Saturated Fat: 4g
- Unsaturated Fat: 2g
- Trans Fat: 0g
- Carbohydrates: 22g
- Fiber: 1g
- Protein: 2g
- Cholesterol: 30mg
Keywords: Zebra Cookies, easy treats, cookies, desserts