Introduction to Cheese Danish
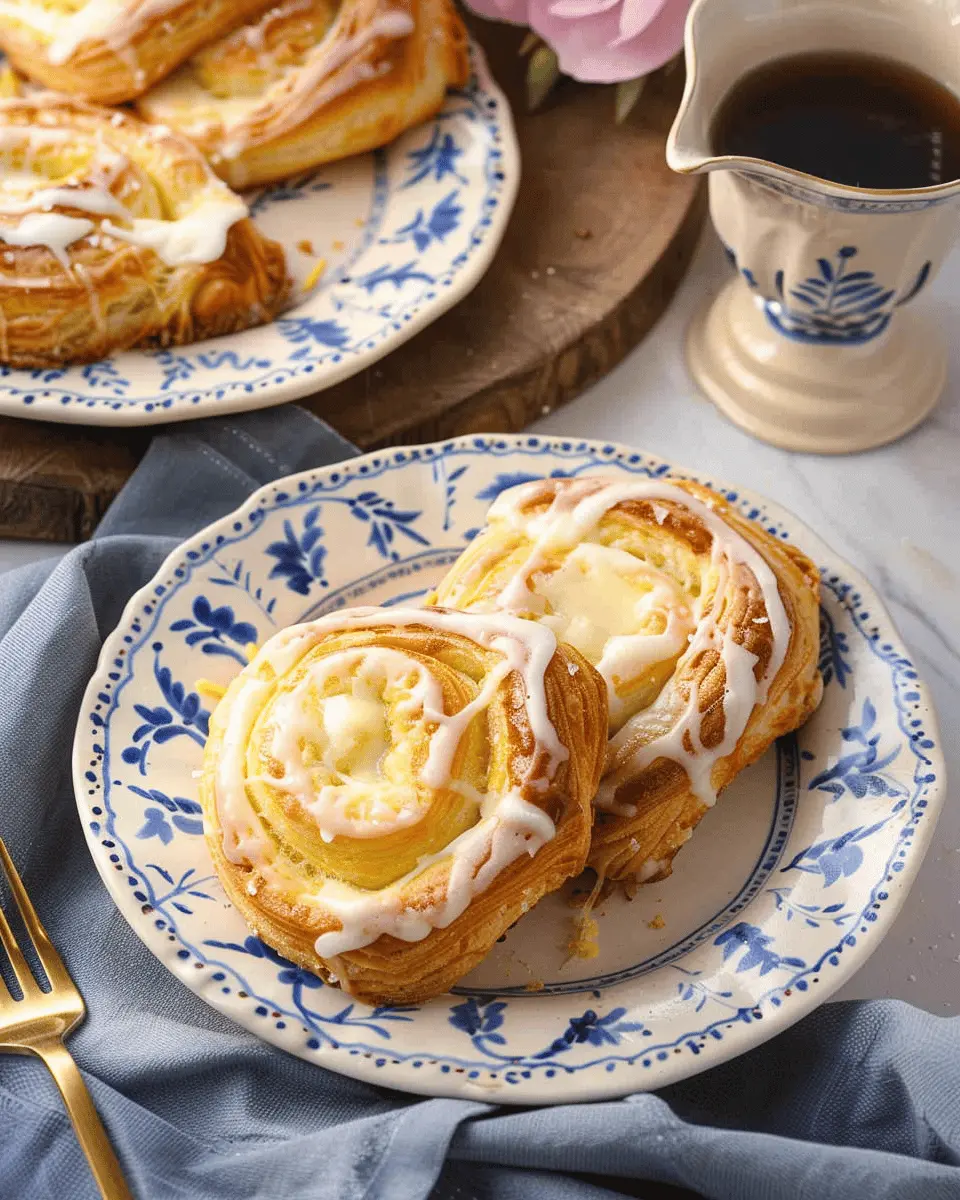
Are you craving a sweet treat that combines flaky pastry with creamy goodness? Look no further than the delightful cheese danish. This pastry, often found in bakeries, is surprisingly easy to make at home and can impress your friends and family with minimal effort. Let’s explore why a cheese danish is the perfect homemade treat.
Why Cheese Danish is the Perfect Homemade Treat
There’s something undeniably satisfying about rolling out dough and crafting your own pastries. With a cheese danish, you get the best of both worlds: a fun baking project and a delicious dessert waiting at the end!
-
Easy Preparation: While making pastry from scratch can seem daunting, many recipes simplify the process by using store-bought puff pastry. This means you can focus on the delicious filling and presentation instead of spending hours worrying about dough.
-
Customizable Flavors: Cheese danishes are versatile; you can fill them with different types of cheeses, fruits, or even chocolate. Want to make it healthier? Consider adding fresh berries or swapping in a low-fat cream cheese. For more recipe inspiration and variations, check out Serious Eats, which has a wealth of baking knowledge.
-
Perfect for Any Occasion: Whether it’s a weekend brunch, a cozy family gathering, or just a way to treat yourself after a long week, cheese danishes fit perfectly into any scenario. You could even whip some up for a picnic with friends—just pair them with some fresh lemonade or iced tea for a delightful combo!
-
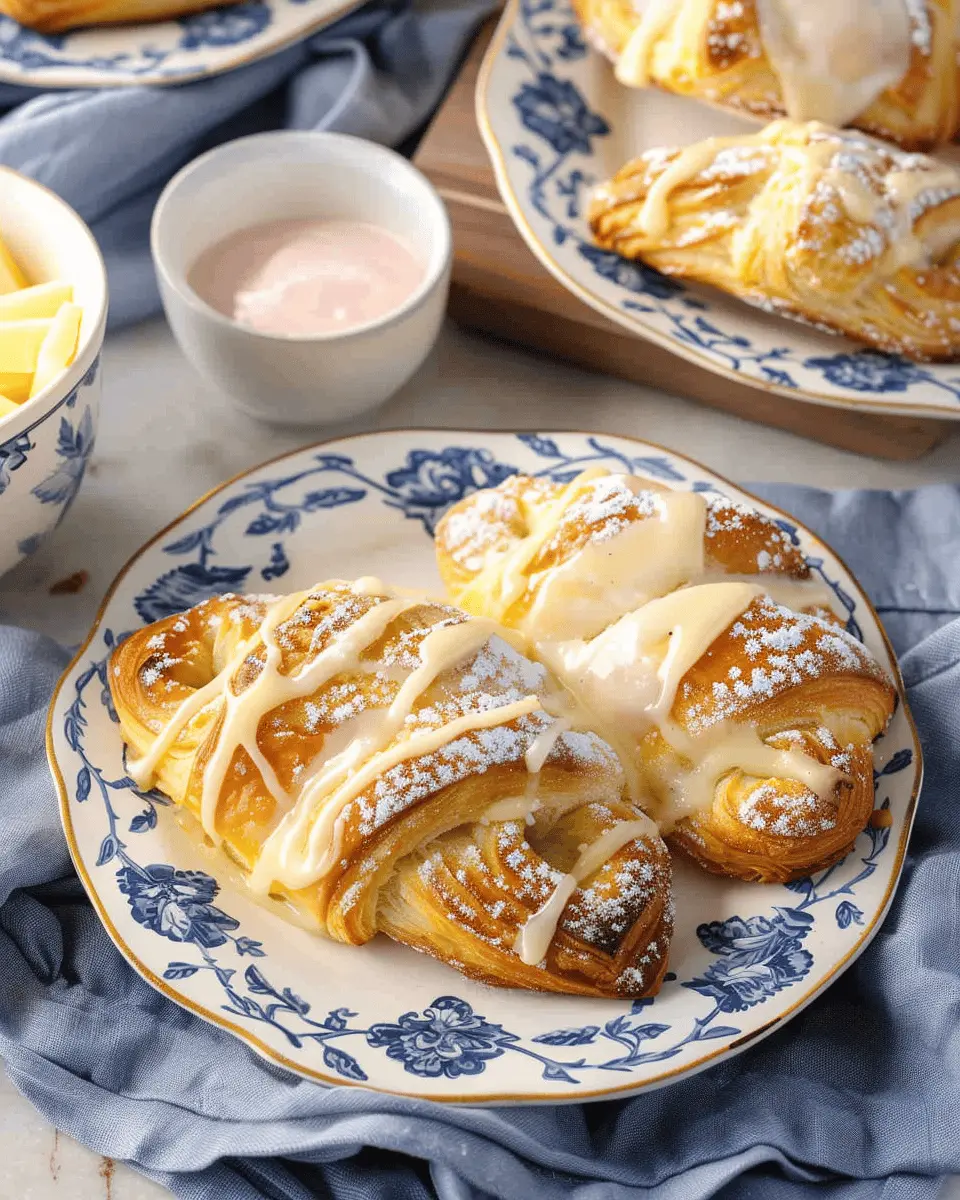
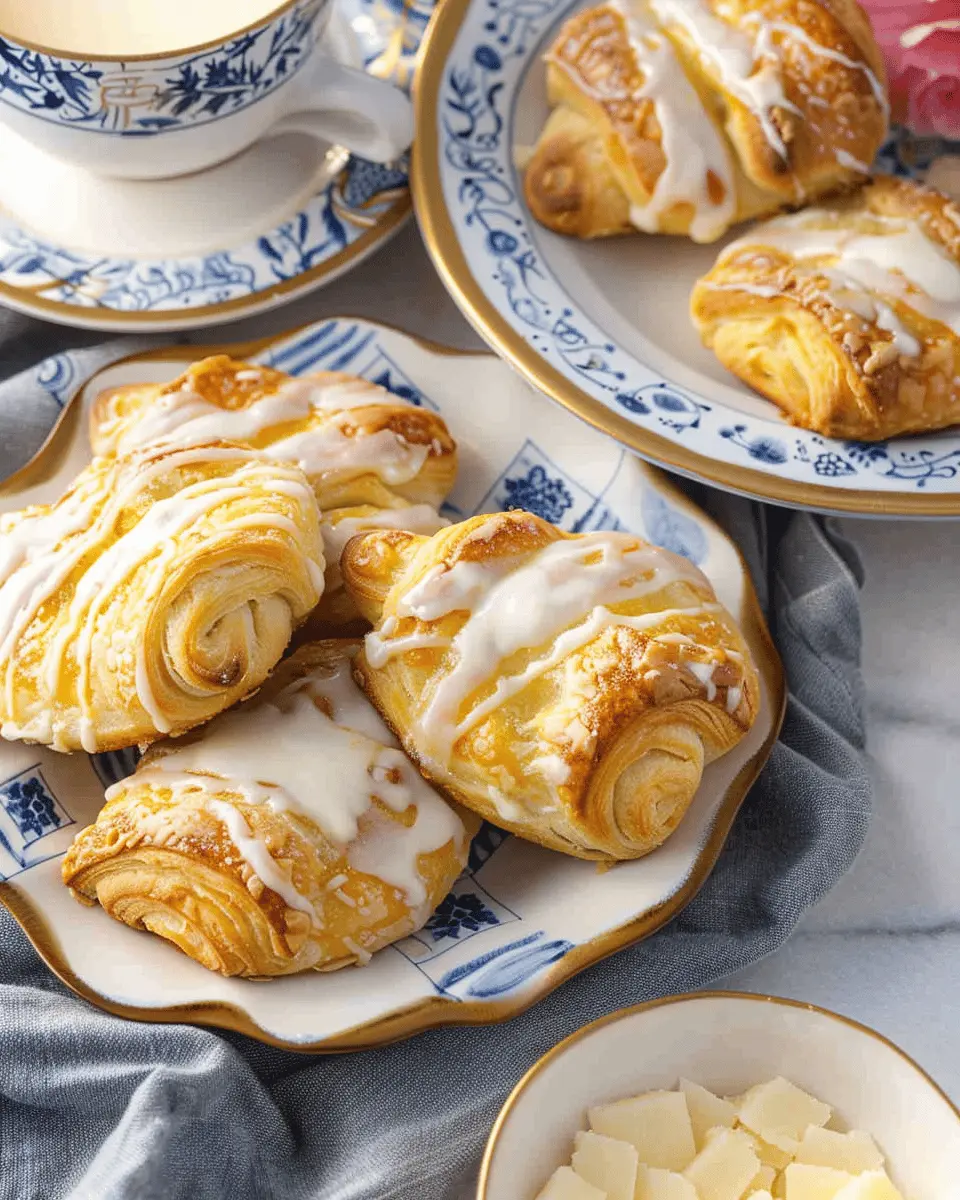
Impressive Presentation: These pastries are not only delicious; they also look beautiful. The golden, flaky crust against the creamy filling is a sight that captures attention and makes every bite feel special.
Ultimately, making a cheese danish from scratch isn’t just about satisfying a sweet tooth; it’s an enjoyable experience that will leave you with a tasty treat to share. So why not roll up your sleeves and give it a shot? You might just discover a new favorite recipe to add to your collection!
For the best tips on perfecting your pastry skills, don’t forget to check out Food Network for guidance on technique and more. Happy baking!
Ingredients for Cheese Danish
When you’re ready to make a delightful cheese danish, having the right ingredients is crucial. Let’s break down what you’ll need for both the dough and the luscious cheese filling.
Essential ingredients for the dough
To create that wonderfully flaky crust, gather the following essentials:
- All-purpose flour: This is your base, providing structure and texture.
- Butter: Use unsalted, cold butter for richness and flakiness.
- Sugar: A bit of sugar enhances flavor, making the dough slightly sweet.
- Salt: Just a pinch to balance the flavors.
- Yeast: Active dry yeast is key for that airy rise.
- Milk: Warmed milk helps activate the yeast and adds moisture.
- Eggs: These add richness to the dough and help bind everything together.
For detailed guidance on dough-making, feel free to check out resources like King Arthur Baking.
Ingredients for the cheese filling
Now for the star of the show—your cheese filling. It’s simple and oh-so-satisfying:
- Cream cheese: Softened, this provides a rich and creamy texture.
- Powdered sugar: This will sweeten your filling without the grittiness of granulated sugar.
- Vanilla extract: A splash brings warmth and a lovely aroma.
- Lemon zest: Just a bit for a bright, refreshing note.
- Egg: This binds your filling and gives it a lovely consistency.
With these ingredients in hand, you’re on your way to impressing friends and family alike with your homemade cheese danish. Happy baking!
Preparing Cheese Danish
Making a delicious cheese danish from scratch is easier than you might think! This delightful pastry is perfect for breakfast, brunch, or a light dessert. Follow these simple steps, and you’ll impress yourself—and anyone you share it with!
Prepare the dough
Your cheese danish journey starts with a flaky, buttery dough. You can use store-bought puff pastry if you’re pressed for time, but if you’re feeling adventurous, here’s how to create it from scratch:
- Ingredients:
- 2 cups all-purpose flour
- 1 cup unsalted butter, chilled and cubed
- 1/2 cup cold water
- 1 teaspoon salt
- In a mixing bowl, combine the flour and salt. Next, cut in the chilled butter until the mixture resembles coarse crumbs.
- Slowly add cold water, kneading gently until the dough comes together.
- Shape the dough into a rectangle, wrap it in plastic wrap, and refrigerate for at least 30 minutes. This chilling time is crucial for that perfect flakiness, so don’t skip it!
Make the cheese filling
While your dough chills, it’s time to whip up the luscious cheese filling that’ll make your cheese danish truly special!
- Ingredients:
- 8 oz cream cheese, softened
- 1/4 cup granulated sugar
- 1 teaspoon vanilla extract
- 1 egg yolk
- In a medium bowl, beat the cream cheese until it’s smooth and creamy.
- Add in the sugar, vanilla extract, and egg yolk. Mix until fully combined. This filling is the star of your pastry, so make sure there are no lumps!
Roll out the dough
Time to bring everything together! Take that rested dough out of the fridge and let’s roll it out.
- On a floured surface, roll the dough into a large rectangle, about 1/4 inch thick. The thinner you roll it, the flakier your cheese danish will be.
- Cut the rectangle into even squares, about 4 inches on each side.
Assemble the Cheese Danish
Assembling your cheese danish is the part where creativity shines!
- Place a spoonful of the cheese filling in the center of each square.
- To form a traditional danish shape, fold the corners of the squares toward the center, pinching them to seal the filling inside. You can also leave the corners open for a different look.
- If you have extra dough, you can use cookie cutters to make fun shapes or cut decorative slits in the top for a unique touch.
Bake to perfection
The moment of truth!
- Preheat your oven to 375°F (190°C). Line a baking sheet with parchment paper.
- Place the assembled cheese danish on the baking sheet, allowing some space between each.
- Brush the tops lightly with an egg wash (1 beaten egg mixed with 1 tablespoon of water), which will give them a beautiful, golden color.
- Bake for about 20-25 minutes or until they’re puffed and golden brown. The sweet, cheesy aroma will fill your kitchen, making it hard to resist!
In summary, making your own cheese danish is not just about the end result; it’s about enjoying the process as well. As you savor that first bite, you’ll be glad you took the time to prepare them from scratch. For more pastry tips, check out sources like Serious Eats or King Arthur Baking. Happy baking!
Variations on Cheese Danish
If you love cheese danish, you’re in for a treat! This classic pastry can be easily adapted to suit a variety of tastes, whether you have a sweet tooth or prefer savory delights. Let’s explore some delicious variations that can elevate your pastry game.
Fruit-Filled Cheese Danish
Who doesn’t enjoy a burst of fruity flavor? Adding your favorite fruits to a cheese danish is a simple way to brighten your breakfast or brunch. Here are some popular fruit options to consider:
- Berry Bliss: Fresh blueberries, raspberries, or strawberries add a vibrant touch. They not only complement the creamy cheese filling but also pack a healthy punch.
- Peach Perfection: Fresh or canned peaches, drizzled with a hint of honey, create a delightful tanginess that pairs wonderfully with cream cheese.
- Apple Cinnamon Dream: Sautéed apples with cinnamon provide a warm, comforting flavor that’s perfect for fall.
Adding fruit to your cheese danish can introduce natural sweetness and an attractive presentation. For great recipe ideas, check out this comprehensive guide on fruit pastries for inspiration.
Savory Cheese Danish with Turkey Bacon or Chicken Ham
For those who crave something savory, a cheese danish filled with Turkey Bacon or Chicken Ham is an incredible option. It’s an unexpected twist that transforms your pastry into a hearty snack or meal.
- Turkey Bacon Delight: Crispy turkey bacon mixed with cream cheese and scallions makes for a rich, salty filling. This combo is sure to please!
- Chicken Ham Sensation: Dice up some chicken ham and combine it with various cheeses for a savory filling that’s deeply satisfying.
These savory variants offer a delightful contrast to the traditional sweet flavors, making them perfect for brunch gatherings. Consider serving them alongside a bold, dark coffee to balance the flavors.
Simple variations like these can elevate your cheese danish experience. Whether you opt for sweet or savory, the possibilities are endless!
Cooking tips and notes for Cheese Danish
Tips for a flaky dough
To achieve that much-desired flakiness in your cheese Danish dough, start with cold ingredients. Use cold butter and ice water; this helps prevent the fat from melting too quickly, allowing for those delightful layers. Don’t forget to roll out the dough gently and avoid overworking it—less is more here! If you want to take it up a notch, consider chilling your dough for about 30 minutes before rolling it out. It makes a world of difference! For more tips, check out this buttery pastry guide.
Notes on achieving the perfect filling consistency
Your cheese Danish filling should be creamy yet firm enough to hold its shape when baked. Mixing your soft cheese with an egg can help attain this texture. Additionally, incorporating a touch of vanilla extract or lemon zest can elevate the flavor. Remember: less is more with sugar. Start small, taste as you go, and adjust—your tastebuds will thank you! If you’re curious about cheese texture, explore some expert opinions on textural contrasts in baking.
Happy baking!
Serving suggestions for Cheese Danish
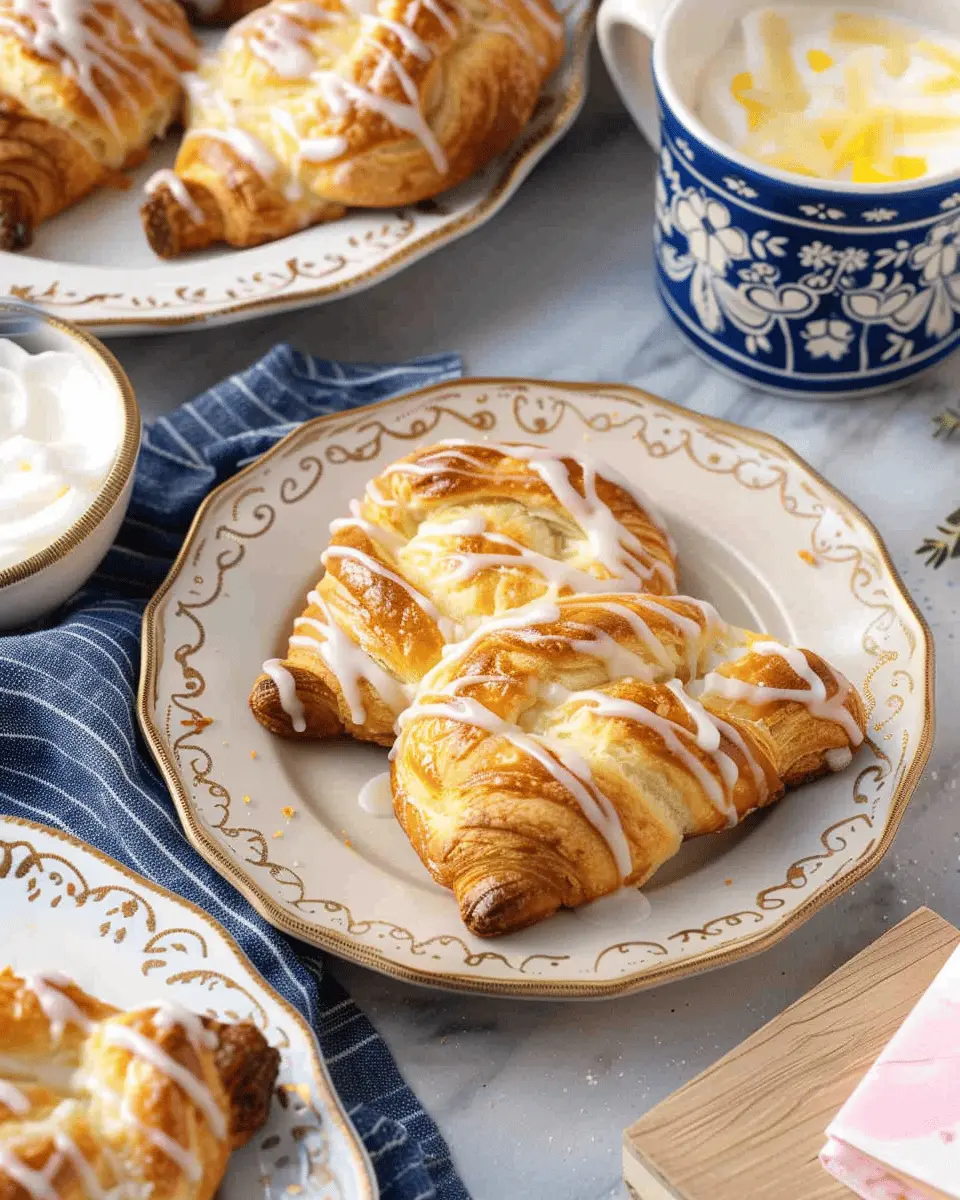
Ideal pairings for breakfast
When enjoying a cheese danish, the breakfast possibilities are endless. Pair it with a freshly brewed cup of coffee to elevate those delightful flavors. The rich creaminess of the cheese complements the boldness of the coffee remarkably well. If you’re looking for something lighter, opt for a refreshing herbal tea, like chamomile or mint, which can balance the sweetness of the pastry.
For a complete breakfast spread, consider adding:
- Scrambled eggs or an omelet
- Turkey bacon or chicken ham for a savory touch
- Fresh seasonal fruits, such as berries or sliced oranges
By combining these items, you create a satisfying breakfast that keeps you energized throughout the morning.
Serving as a delightful snack
The cheese danish stands out as a perfect mid-afternoon pick-me-up. When those 3 PM cravings hit, enjoy a slice with a dollop of yogurt or a sprinkle of granola on top. This adds texture and a crunchy element that enhances the pastry’s buttery goodness.
Don’t hesitate to try these alternatives, too:
- A scoop of ice cream for those extra special cravings
- A drizzle of honey or maple syrup for added sweetness
- A handful of nuts for a satisfying crunch
These options not only satisfy your hunger but can also impress any guests. Want to learn more about elevating your cheese danish experience? Check out this guide on how to pair pastries with drinks.
Enjoy your cheese danish adventures!
Time Breakdown for Cheese Danish
When you’re gearing up to bake a delightful cheese danish, knowing the time needed can help you plan better. Here’s how the preparation and baking times break down:
Preparation Time
Getting everything ready takes about 20-25 minutes. This is where the magic begins! You’ll want to gather your ingredients, whip up your cheese filling, and prepare your pastry dough. If you’re using pre-made dough, you’re already a step ahead, which cuts down time significantly.
Baking Time
The cheese danish will bake for approximately 25-30 minutes. During this time, your kitchen will fill with a heavenly aroma, and you can enjoy a cup of your favorite coffee or herbal tea while you wait.
Total Time
In total, you’re looking at around 50-55 minutes from start to finish. It’s a small investment for a delicious treat! Plus, don’t forget to take a moment to appreciate how lovely these will look on your brunch table. For further tips on baking perfect pastries, check out this helpful guide from an expert baker.
With this breakdown in mind, you can go ahead and impress your friends with your cheese danish skills! Happy baking!
Nutritional facts for Cheese Danish
When indulging in a delightful cheese danish, it’s helpful to know what you’re treating yourself to. Here’s a quick breakdown of its nutritional values:
Calories
A single serving of cheese danish typically contains around 300–400 calories. While this is a delicious pastry, it’s certainly a treat best enjoyed in moderation.
Protein
On the plus side, you can expect about 8 grams of protein per serving. The creamy cheese filling provides a good source of this essential nutrient, potentially helping you to feel satisfied longer.
Sodium
Keep an eye on your sodium intake, as a cheese danish can have approximately 400–500 mg of sodium. If you’re watching your sodium, it’s best to enjoy this pastry as an occasional indulgence rather than a daily staple.
Curious about more healthful alternatives or ways to make a cheese danish a bit lighter? Check out resources like the USDA’s FoodData Central for detailed nutritional insights or visit nutrition-focused blogs for creative make-at-home strategies!
FAQs about Cheese Danish
Can I make Cheese Danish ahead of time?
Absolutely! You can prepare the filling for your Cheese Danish a day in advance and store it in the refrigerator. For the pastry, you can either assemble the danishes and refrigerate them before baking or bake them and then store them for later use. Just note that the quality is best when enjoyed fresh, so if you’re prepping ahead, consider baking them right before serving for that fresh-out-of-the-oven experience!
What’s the best way to store Cheese Danish?
To store your Cheese Danish, keep them in an airtight container at room temperature for about 1-2 days. If you’ve baked them, ensure they’re completely cool before storing to avoid sogginess. If you’d like to extend their freshness, you can refrigerate them for up to a week. When you’re ready to enjoy them again, a quick reheat in the oven or toaster oven can help bring back that delightful flakiness.
Can I freeze Cheese Danish?
Yes, you can definitely freeze Cheese Danish! They freeze well and can be stored for up to two months. For best results, wrap each danish individually in plastic wrap and then place them in a freezer-safe bag. When you’re ready to enjoy them, you can bake them straight from the freezer—just add a few extra minutes to your baking time. If you want tips on freezing baked goods, check out this guide by the FDA to ensure your Danish remains delicious!
Feel free to experiment and make your Cheese Danish routine as flexible as your schedule demands. Enjoy lending your creative touch to this classic treat!
Conclusion on Cheese Danish
Making a cheese danish at home is not just a delightful endeavor; it’s an experience that connects you with the art of baking. The warm, flaky pastry encasing rich, creamy cheese filling is a treat for your taste buds and a feast for the senses. Why should you try this delightful pastry?
- Freshness: Home-baked means no preservatives. You’re indulging in pure flavor.
- Customization: You can adjust fillings to suit your tastes—maybe add some fresh fruit or even a drizzle of honey!
- Skill-building: It’s a fun way to enhance your baking skills.
So go ahead, roll up your sleeves and embrace the joy of making your very own cheese danish. You won’t regret it! For more inspiration or fillings, check out resources like Serious Eats or BBC Good Food.
PrintCheese Danish Delight: Easy Recipe for Homemade Bliss
Learn how to make a delicious Cheese Danish at home with this easy recipe that brings the bakery experience right to your kitchen.
- Prep Time: 15 minutes
- Cook Time: 25 minutes
- Total Time: 40 minutes
- Yield: 12 servings 1x
- Category: Desserts
- Method: baking
- Cuisine: American
- Diet: Vegetarian
Ingredients
- 1 package puff pastry
- 8 ounces cream cheese
- 1/2 cup sugar
- 1 egg
- 1 teaspoon vanilla extract
- 1 tablespoon lemon juice
- 1 egg yolk (for egg wash)
Instructions
- Preheat your oven to 400°F (200°C).
- Roll out puff pastry on a floured surface and cut into squares.
- In a bowl, mix cream cheese, sugar, egg, vanilla extract, and lemon juice until smooth.
- Place a dollop of the cream cheese mixture in the center of each pastry square.
- Fold the corners of the pastry over the filling to form a shape.
- Brush the tops with egg yolk for a golden finish.
- Bake for 20-25 minutes or until golden brown.
Notes
- Use fresh ingredients for the best flavor.
- Feel free to add fruit on top or inside for extra flavor.
Nutrition
- Serving Size: 1 Danish
- Calories: 220
- Sugar: 6g
- Sodium: 150mg
- Fat: 12g
- Saturated Fat: 7g
- Unsaturated Fat: 3g
- Trans Fat: 0g
- Carbohydrates: 23g
- Fiber: 0g
- Protein: 3g
- Cholesterol: 40mg
Keywords: Cheese Danish, homemade Cheese Danish, easy recipe