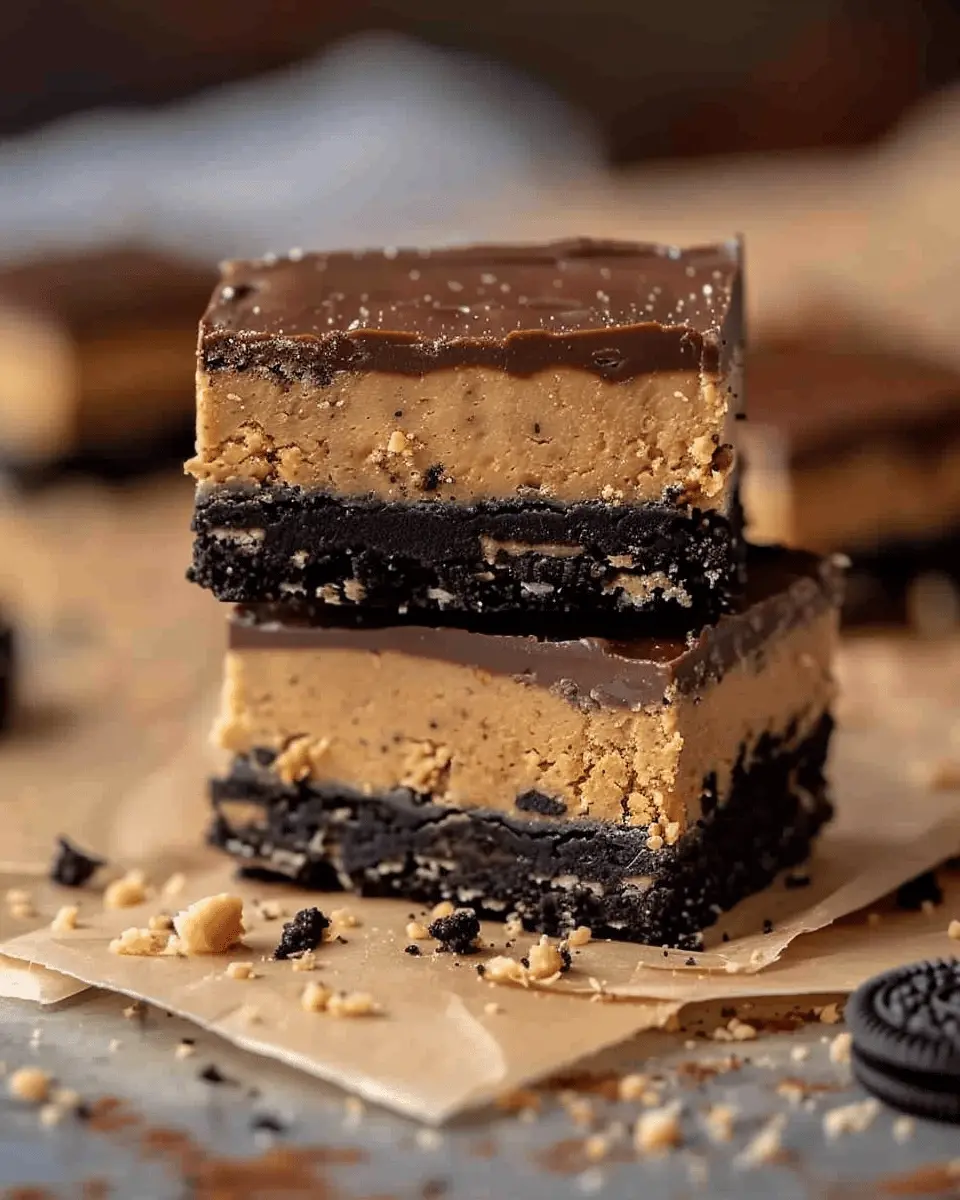
Introduction to Easy Peanut Butter Oreo Bars
When the workday winds down, and you’re ready to kick back and relax, nothing hits the spot quite like a satisfying treat. If you enjoy the combination of crunchy and creamy textures, let me introduce you to the delightful world of Easy Peanut Butter Oreo Bars. These bars are the epitome of a quick and simple dessert that stacks up well against any gourmet creation, making them a go-to recipe in your kitchen arsenal.
Why Peanut Butter Oreo Bars are the Perfect Post-Work Treat
First, let’s talk about convenience. After a long day at the office, the last thing you want is to spend hours in the kitchen—especially when you’re craving something sweet. What makes these Peanut Butter Oreo Bars stand out is their easy-to-follow recipe. With just a handful of ingredients—think Oreos, creamy peanut butter, and a touch of butter—you can whip them up in no time. Not to mention, they don’t require baking! Just mix, chill, and enjoy.
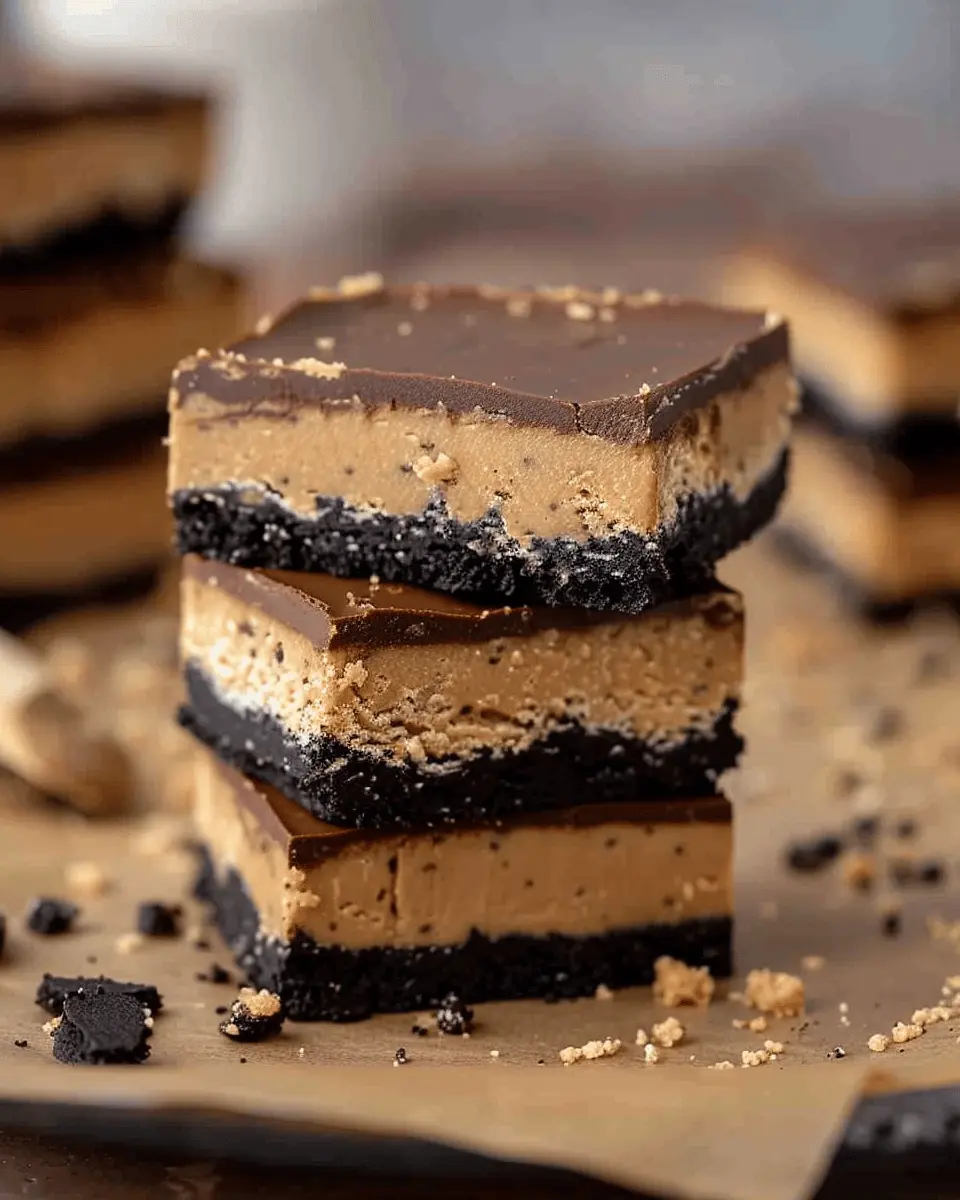
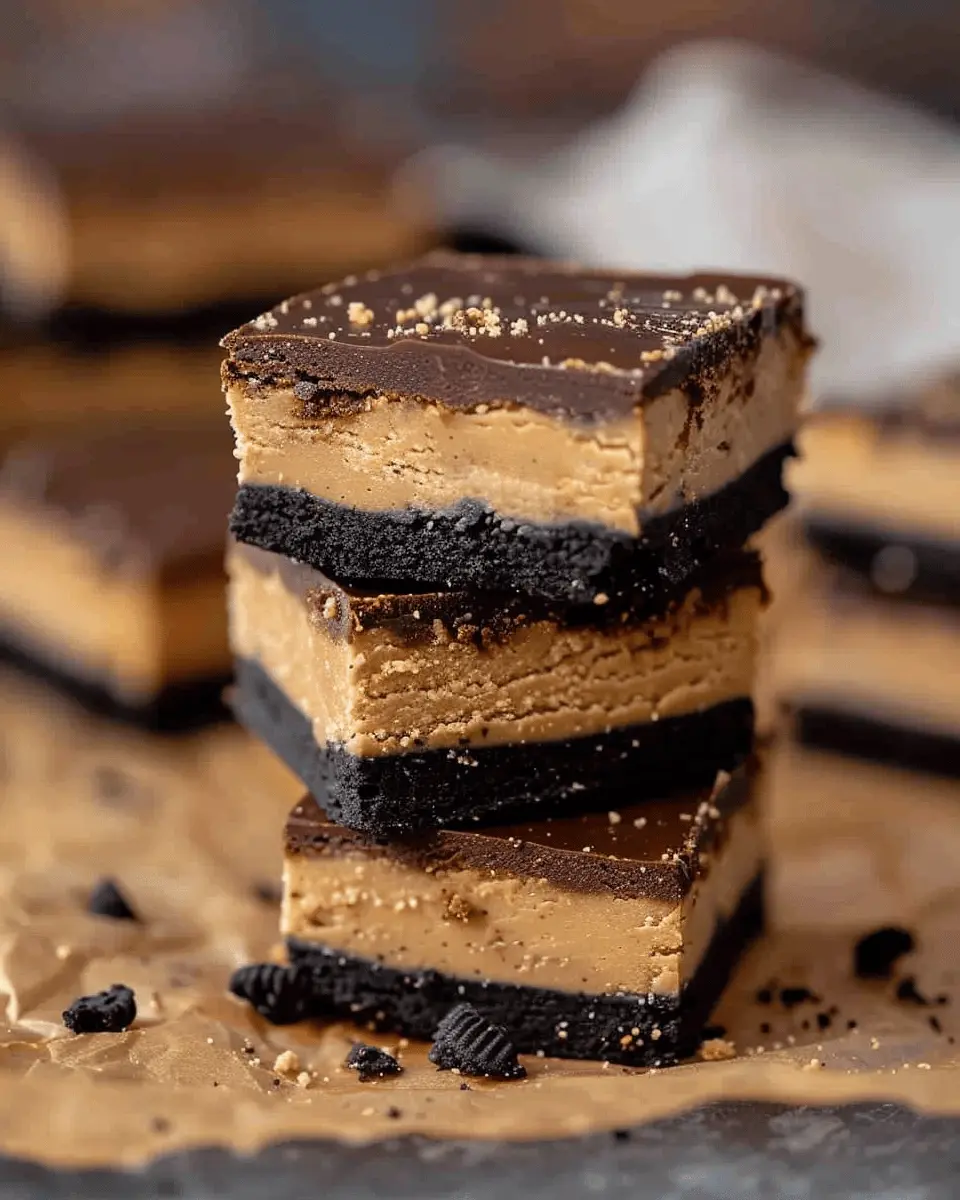
Now, you might be wondering how they taste. Imagine a luscious layer of peanut butter sitting atop a crunchy Oreo crust, followed by a drizzle of melted chocolate to top it off. The flavor combination is pure bliss. According to a study by the American Psychological Association, indulging in sweet treats can trigger the release of dopamine in your brain, which means these bars might not just satisfy your sweet tooth; they could also lift your spirits after a hectic day.
For those of you who love a good sweet-tooth fix, these bars provide that perfect balance of flavors and textures. They are not overly sweet, making them ideal for serving at weekend get-togethers or after a long workweek. Plus, you can easily customize them—add in some chopped nuts or switch the chocolate drizzle for caramel if you’re feeling adventurous!
So, whether you’re winding down after work or prepping for a fun gathering, these Easy Peanut Butter Oreo Bars are your ticket to a delightful chill-out moment. For more snack ideas, check out resources like The Kitchn for inspiration on easy desserts. Your taste buds will thank you!
Ingredients for Easy Peanut Butter Oreo Bars
Essential ingredients you’ll need
Creating your Easy Peanut Butter Oreo Bars is a breeze when you have the right ingredients on hand. Start with:
- Oreo cookies: The classic black-and-white cookie serves as the perfect base.
- Creamy peanut butter: This provides that delicious nutty flavor. Smooth works best for texture!
- Butter: Unsalted butter adds richness; feel free to use a dairy-free alternative if desired.
- Powdered sugar: This sweetens and helps create a creamy filling.
- Chocolate chips: For that indulgent topping, semi-sweet or milk chocolate chips are great choices.
Optional ingredients for customization
Want to give your Easy Peanut Butter Oreo Bars a personal touch? Here are some fun options to consider:
- Peanut butter chips: Boost that peanut butter flavor!
- Crushed nuts: Almonds or pecans add a crunchy texture.
- Sprinkles: For a festive flair, especially if you’re making these for a special occasion.
- Coconut flakes: For those who enjoy a tropical twist.
Remember, the beauty of this recipe lies in its adaptability—make it uniquely yours! For more ideas, check out Food Network’s guide on sweet add-ins. Happy baking!
Step-by-step Preparation of Easy Peanut Butter Oreo Bars
Making Easy Peanut Butter Oreo Bars is a delightful and straightforward process that brings joy to both novice and experienced bakers. These bars are perfect as a quick dessert for a gathering or a special treat to indulge in while binge-watching your favorite series. Let’s dive into the step-by-step preparation!
Gather your ingredients and tools
To get started, it’s crucial to have everything you need within arm’s reach. Here’s what you’ll require:
Ingredients:
- 36 Oreo cookies
- 1 cup creamy peanut butter
- 1 stick unsalted butter, softened
- 1 ½ cups powdered sugar
- ½ cup chocolate chips (for topping, optional)
Tools:
- A food processor or zip-lock bag and rolling pin
- 9×9 inch baking pan
- Mixing bowl
- Rubber spatula or wooden spoon
- Refrigerator
Having your ingredients prepped and tools handy makes the process smoother and more enjoyable. Now, let’s move on to the next step!
Crush the Oreos
Next, you’ll need to turn those Oreos into a fine crumb mixture. There are two easy ways to do this:
- Method 1: Use a food processor. Just toss in all the Oreo cookies and pulse until they’re finely crushed. This will only take a minute!
- Method 2: If you don’t have a food processor, place the Oreos in a zip-lock bag, seal it tightly, and crush them with a rolling pin.
Pro tip: Keep a few chunky pieces if you like a little texture in your bars. It can add a delightful crunch!
Mix the peanut butter and other key components
In a mixing bowl, combine your creamy peanut butter and softened unsalted butter. These two are the star players that create the dreamy base for your bars!
- Use a spatula to blend them together until they are creamy and well combined. This is a good arm workout; you want the mixture to be smooth and lump-free.
- Gradually add in the powdered sugar, a little at a time, while stirring. This helps avoid a sugary cloud explosion in your kitchen!
Once you’re done, the mixture should be thick and spreadable. If you want to learn more about the nutritional benefits of peanut butter, check out this resource on health benefits.
Combine the mixture with crushed Oreos
Now comes the fun part! Take your crushed Oreos and gently fold them into the peanut butter and butter creation.
- Use a spatula to combine until all the Oreos are evenly distributed throughout the peanut butter mixture. This creates a luscious, cookie-studded batter that’s impossible to resist.
Spread the mixture into the pan
After you’ve blended the two parts, it’s time to spread your mixture into a greased 9×9 inch baking pan.
- Use the spatula to level out the top for a smooth finish. This part doesn’t have to be perfect, but an even layer will help your bars set beautifully.
- If you’re feeling fancy, sprinkle some chocolate chips over the top before placing it in the fridge!
Refrigerate to set
Finally, pop those masterpieces into the refrigerator and let them set for at least 2 hours. This step is crucial as it allows the bars to firm up, making them easier to cut into perfect squares.
- Once they have set, slice into squares and enjoy your Easy Peanut Butter Oreo Bars! They’re a guaranteed crowd-pleaser.
Feel free to experiment with toppings or layers. You could drizzle melted chocolate on top or even include some chopped nuts for added crunch. Enjoy your delicious creation and share it with friends — if you can bear to part with any!
Happy baking!
Variations on Easy Peanut Butter Oreo Bars
Peanut Butter Oreo Bars with a Twist: Add Chocolate Drizzle
Who doesn’t love a little decadence? Elevating your Easy Peanut Butter Oreo Bars is just a drizzle away! Melt some semi-sweet chocolate chips in the microwave or over a double boiler. Once smooth, use a fork to drizzle the chocolate over your cooled bars. The contrasting flavors of creamy peanut butter and rich chocolate not only make for an eye-catching presentation but also add a layer of indulgence that’s hard to resist. Need some inspiration? Check out more creative dessert ideas on Food Network.
No-Bake Version for a Quick Treat
Craving a quick, easy dessert that doesn’t require turning on the oven? You’re in luck! Crafting no-bake Easy Peanut Butter Oreo Bars is as simple as mixing crushed Oreos with melted peanut butter and a touch of butter. Press the mixture into a lined baking dish and let it set in the fridge for about two hours. Voila! You’ve got a delicious treat in no time. Perfect for those nights when you want something sweet without the fuss of baking. For more no-bake ideas, consider exploring BBC Good Food.
Adapting your bars to fit your cravings and lifestyle makes cooking even more enjoyable. Whether you’re adding a drizzle or skipping the oven, these variations ensure your Easy Peanut Butter Oreo Bars remain a go-to favorite!
Cooking Tips and Notes for Easy Peanut Butter Oreo Bars
How to Avoid a Crumbly Texture
To keep your Easy Peanut Butter Oreo Bars from becoming too crumbly, make sure to measure your ingredients accurately. Use room-temperature butter for a softer, creamier consistency, which helps bind everything together. When mixing, aim for a smooth, even batter—if it feels too dry, a splash of milk can work wonders. Stir gently to incorporate the Oreo crumbs without breaking them down completely.
Storage Tips for Freshness
To keep your Easy Peanut Butter Oreo Bars fresh, it’s essential to store them properly. After cooling, cut them into squares and place them in an airtight container. You can layer parchment paper between the bars to prevent sticking. For even longer freshness, consider refrigerating them—this not only preserves their flavor but also makes them extra delightful when served cold. According to the Food Safety and Inspection Service, storing them in the fridge can extend their shelf life by several days.
By following these tips, you’re on your way to enjoying delicious bars that are both indulgent and easy to prepare! If you’re looking for more tips on baking with Oreos, check out this helpful guide.
Serving Suggestions for Easy Peanut Butter Oreo Bars
These Easy Peanut Butter Oreo Bars are irresistible on their own, but let’s amplify their delight with some simple serving suggestions!
Pairing with Fresh Fruits or a Glass of Cold Milk
Elevate your bar experience by pairing these treats with fresh fruits. Sliced strawberries or bananas complement the rich peanut butter flavor perfectly while adding vibrant color and nutrients. For a comforting touch, enjoy them with a tall glass of cold milk—the creaminess balances the sweet crunch beautifully. The combination is sure to be a hit, especially for those cozy evenings at home.
Creative Presentations for Parties
Hosting a gathering? Make your Easy Peanut Butter Oreo Bars the star of your dessert table! Cut them into bite-sized pieces and arrange them on a decorative platter. Consider adding a drizzle of melted chocolate or a sprinkle of crushed nuts as a garnish. You could even serve them in individual cups topped with whipped cream. This not only looks appealing but also makes for easy serving. With these simple yet fun presentation ideas, your guests will be raving about the dessert long after the party ends!
For more snack ideas, check out resources from Nutrition.org or FoodNetwork.
Time Breakdown for Easy Peanut Butter Oreo Bars
Preparation Time
Making Easy Peanut Butter Oreo Bars is a breeze! You’ll need about 10 minutes to gather your ingredients, crush the Oreo cookies, and mix the peanut butter filling. It’s a quick process, perfect for when you’re in a hurry but still want something delicious!
Chilling Time
After you’ve created your decadent bars, they’ll need to chill for at least 1 hour in the refrigerator. This step is crucial as it allows the flavors to meld beautifully and gives the bars a delightful firmness that makes them easy to cut and serve.
Total Time
In total, you’re looking at about 1 hour and 10 minutes from start to finish. That’s just enough time to whip up these mouth-watering Easy Peanut Butter Oreo Bars and get ready for your next movie night or gathering with friends. Who knew indulgence could be so manageable?
For more tips on creating delicious desserts, check out expert baking resources like King Arthur Baking for inspiration.
Nutritional Facts for Easy Peanut Butter Oreo Bars
When it comes to satisfying your sweet tooth, these Easy Peanut Butter Oreo Bars pack a delightful punch without compromising on nutrition.
Calories per serving
Each serving of these delectable bars contains approximately 180 calories. Perfect for a little indulgence without going overboard!
Breakdown of macros
Curious about the nutritional breakdown? Here’s what you can expect:
- Fat: 10 grams
- Protein: 4 grams
- Carbohydrates: 18 grams
These Easy Peanut Butter Oreo Bars provide a great balance of energy-boosting carbs and healthy fats. If you’re keen to maintain a wholesome diet while indulging, incorporating these bars into your snack rotation could be a delicious solution. For more on balanced nutrition, check out Healthline. It’s all about enjoying treats responsibly!
These treats are a fun way to treat yourself after a long day or to share with friends. So, what are you waiting for? Give this recipe a whirl!
FAQs about Easy Peanut Butter Oreo Bars
Making Easy Peanut Butter Oreo Bars raises lots of delicious questions! Let’s dive into some of the most common queries.
Can I use different types of cookies?
Absolutely! While Oreo cookies provide a classic flavor, feel free to experiment with other cookies like chocolate chip or even peanut butter cookies for an intense peanut flavor. Each cookie variation will lend a unique texture and taste, so don’t hesitate to get creative! If you’d like to explore more cookie options, sites like Serious Eats offer insights into flavor pairings that can elevate your bars.
How long do they last in the fridge?
When stored properly in an airtight container, your Easy Peanut Butter Oreo Bars will last up to a week in the fridge. However, they’re typically so tasty that they won’t be around that long! To maintain freshness, make sure to keep them refrigerated, especially if the weather is warm or humid. For storage tips, you can refer to Food Network for best practices.
Are there alternatives for those allergic to peanuts?
Yes! If you’re looking for alternatives due to peanut allergies, consider using almond butter or sunflower seed butter. Both options provide a creamy texture with a flavor that complements the sweetness of the bars. Just be sure to check for any cross-contamination with nuts if allergies are a serious concern. You can also explore nut-free dessert blogs for additional ideas that cater to various dietary needs.
With these FAQs, you’re all set to make your delicious Easy Peanut Butter Oreo Bars with confidence. Happy baking!
Conclusion on Easy Peanut Butter Oreo Bars
Final thoughts and encouragement to try making them
In closing, Easy Peanut Butter Oreo Bars are more than just a dessert; they’re a delightful experience waiting to happen in your kitchen. The combination of creamy peanut butter and rich chocolate will make any day feel special. Why not gather your ingredients and give these bars a shot?
You’ll impress your friends or family, or even treat yourself during a well-deserved break. Plus, they’re so simple and quick to whip up! If you’re curious about variations or pairings, feel free to explore! Check out ideas on Food Network or Serious Eats for inspiration. Enjoy baking!
PrintEasy Peanut Butter Oreo Bars: Indulgent Treat for Home Chefs

These Easy Peanut Butter Oreo Bars are a deliciously indulgent treat, perfect for satisfying your sweet tooth at home. With a combination of creamy peanut butter and crunchy Oreo cookies, these bars are sure to be a hit with everyone!
- Prep Time: 15 minutes
- Cook Time: 25 minutes
- Total Time: 40 minutes
- Yield: 16 bars 1x
- Category: Dessert
- Method: Baking
- Cuisine: American
- Diet: Vegetarian
Ingredients
- 1 cup peanut butter
- 1 cup crushed Oreo cookies
- 1/2 cup granulated sugar
- 1/2 cup butter, melted
- 1 cup chocolate chips
Instructions
- Preheat your oven to 350°F (175°C).
- In a bowl, mix the peanut butter, sugar, and melted butter until combined.
- Fold in the crushed Oreo cookies until evenly distributed.
- Transfer the mixture to a greased baking dish and spread evenly.
- Bake in the preheated oven for 20-25 minutes.
- Remove from the oven and let cool before drizzling with melted chocolate chips.
- Cut into bars and serve.
Notes
- For a sweeter taste, add more sugar as needed.
- These bars can be topped with chopped nuts for added texture.
Nutrition
- Serving Size: 1 bar
- Calories: 250
- Sugar: 15 grams
- Sodium: 120 milligrams
- Fat: 15 grams
- Saturated Fat: 7 grams
- Unsaturated Fat: 6 grams
- Trans Fat: 0 grams
- Carbohydrates: 30 grams
- Fiber: 2 grams
- Protein: 4 grams
- Cholesterol: 15 milligrams
Keywords: Easy Peanut butter Oreo Bars